In the mesmerizing world of 3D printing, slicing is the unsung hero, and the unsung villain, depending on your perspective. This critical step is the difference between a flawless model and a tangled mess of filament. So, before you get ready to print your next masterpiece, let’s dig into what slicing really is, why it’s a big deal, and how it can make or break your printing experience. Buckle up, because slicing isn’t just a technical term: it’s where creativity meets precision.
Understanding the Slicing Process
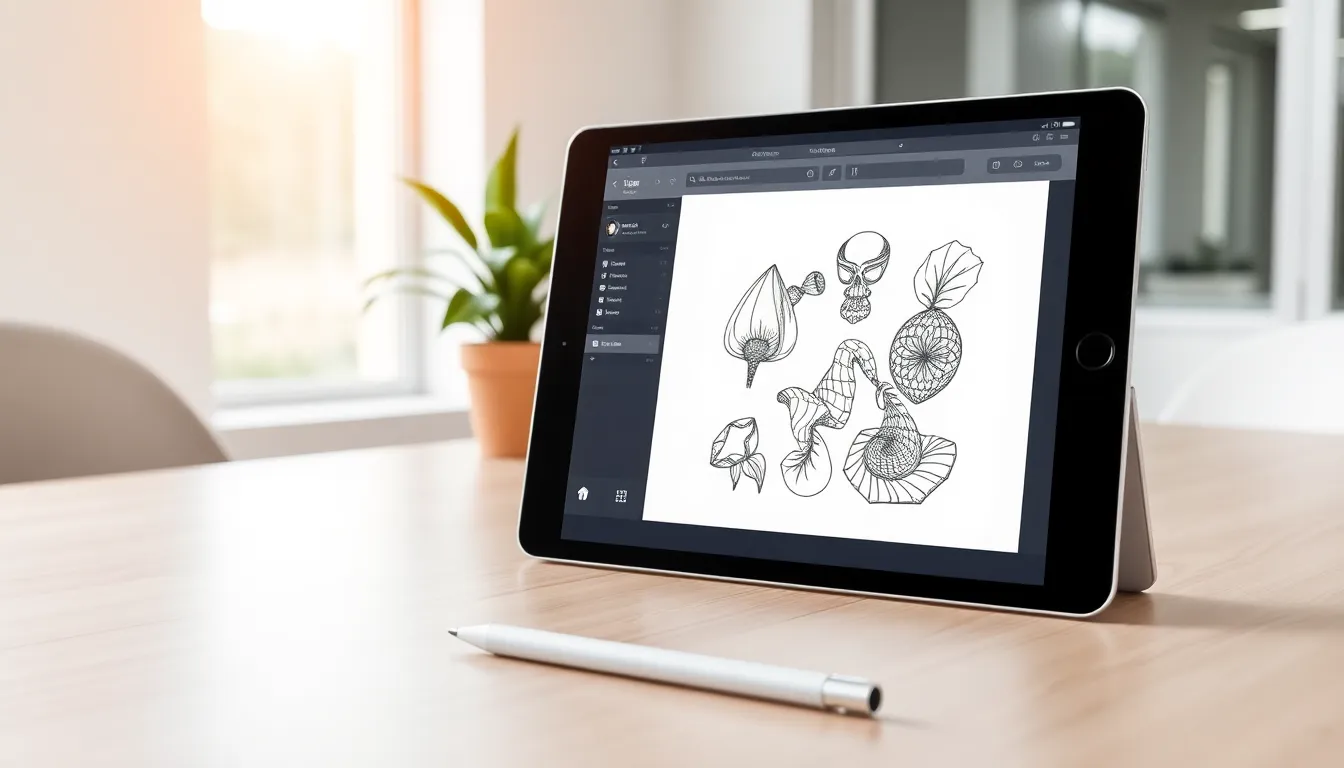
Slicing in 3D printing is the process of converting a 3D model into a set of instructions that a 3D printer can understand. Think of it as translating a novel into a language that your printer can read. When a designer creates a model in CAD software, the file is typically saved in a format like STL or OBJ. But, a 3D printer doesn’t know how to interpret these designs directly.
Instead, slicing software steps in, breaking the model down into thin horizontal layers. This layered approach allows the printer to build the object layer by layer, adhering to exact specifications for height, width, and depth. The result? An amazing work of art, when done right.
During this process, the software not only translates the model but also adjusts settings such as layer height, infill density, and print speed. These adjustments can significantly affect the final product, making slicing a fundamental skill for anyone serious about 3D printing.
Importance of Slicing in 3D Printing
Why is slicing crucial in the 3D printing workflow? For starters, it optimizes the print process by translating complex models into actionable commands. But that’s just the tip of the iceberg. Here are a few more reasons why slicing should be at the forefront of every 3D printer’s toolkit:
- Quality Control: Poor slicing can lead to printing errors like layer misalignment and under-extrusion. Proper slicing techniques ensure a smoother print.
- Material Efficiency: By tweaking settings like infill density, slicers can save filament, reducing waste while maintaining structural integrity.
- Time Management: A well-tuned slice means faster prints. Competitors at your next Maker Faire will thank you for it.
- Customization: Modern slicing software enables a high degree of customization, which is key for tailoring prints for specific needs, be it aesthetics, durability, or functionality.
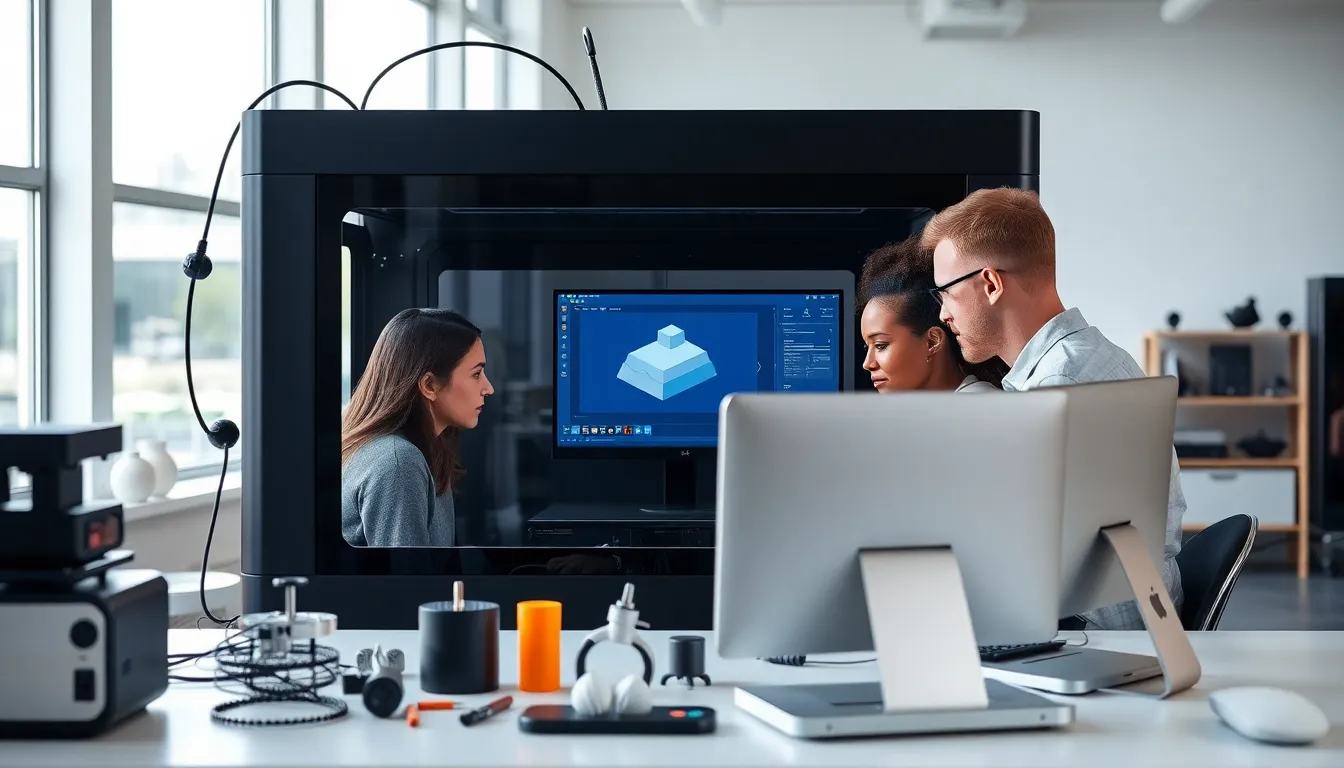
How to Choose a Slicing Software
Selecting the right slicing software can feel like browsing a buffet: there’s a lot to choose from, and it’s tough to make the best choice. Here are some factors to consider:
- Compatibility: Ensure the slicer you choose is compatible with your printer model and the types of filaments you plan to use. Not all slicers are universal.
- User Experience: Does the interface feel intuitive? A user-friendly design can mean the difference between a seamless process and a hair-pulling session.
- Features: Look for essential features like support structures, variable layer heights, and customizable settings. These can enhance your printing capabilities immensely.
- Community Support: A strong online community can be invaluable. Resources such as forums, tutorials, and troubleshooting guides can shortcut your learning curve.
Key Slicing Parameters and Settings
Delving deeper into the slicing realm reveals a complex world of parameters that dictate how your print comes to life. Here are some key settings that every slicer should understand:
- Layer Height: This setting determines the thickness of each printed layer. A smaller layer height leads to finer details but prolongs the printing time.
- Infill Density: This indicates how solid your print will be inside. A higher density offers structural strength but uses more material.
- Print Speed: Faster print speeds can crank out models in record time, but typically at the cost of precision.
- Temperature Settings: These are crucial depending on the material you are using. Each filament type has its optimal melting point, which affects adhesion, strength, and finish.
Common Slicing Techniques
There are multiple slicing techniques that can produce different outcomes for your prints. Here’s a quick rundown of a few widely-used methods:
- Adaptive Slicing: Adjusts layer height based on the geometry of the object, optimizing print time and quality. Thicker layers are used where detail isn’t critical.
- Dynamic Infill: Varies infill density based on the design’s needs, saving material while ensuring strength in critical areas.
- Multi-material Slicing: Allows for prints to be made from different materials or colors in one job. This technique can yield striking results and complex functionalities.
Each technique comes with its pros and cons, often determined by the nature of the project at hand.
Future Trends in Slicing Technology
The world of slicing technology is rapidly evolving. Here’s a taste of where it’s heading:
- AI Integration: Artificial Intelligence is set to revolutionize slicing, automating adjustments and optimizing settings based on previous print data.
- Cloud-based Solutions: These can allow for remote slicing and management of print jobs, giving users greater flexibility and access from anywhere.
- Advanced Material Compatibility: Future slicing software will likely have increased capabilities for handling a wider variety of composite materials, opening doors to even more creative possibilities.