Ever found yourself staring at a pile of 3D printing supplies, wondering where to start? Welcome to the world of Blender. Mixing creativity with technology, Blender is like the Swiss Army knife for creating stunning 3D models ready for printing. You might be thinking, ‘Can’t I just use a generic program?’ Well, if you want to transform your wildest ideas into reality while having fun in the process, stick around. This article will walk you through everything you need to know about using Blender for 3D printing, no confusion or tech jargon. Just clear, confident steps that will turn you from a novice into a 3D printing wizard.
Understanding 3D Printing Basics

Before diving headfirst into modeling, it’s wise to grasp the fundamentals of 3D printing. At its core, 3D printing involves creating three-dimensional objects from a digital file through additive manufacturing. Essentially, a printer lays down material layer by layer, gradually shaping the object you desire. Common printing technologies include Fused Deposition Modeling (FDM) and Stereolithography (SLA). Each method has its own strengths, FDM is often more accessible and widely used, while SLA offers greater detail and precision but can be a tad pricier.
When embarking on a 3D printing project, understanding the materials you’ll be using is also crucial. Plastics like PLA and ABS are the most popular for beginners. They’re easy to work with and, most importantly, readily available. Getting familiar with these basics sets a solid foundation for making the most out of Blender.
Why Use Blender for 3D Printing?
Blender stands out as a powerhouse for 3D design due to its versatility and extensive feature set. Whether you’re crafting intricate models or simple shapes, Blender provides tools that cater to various skill levels. So why choose it for 3D printing specifically?
- Open Source & Free: Flexibility is at your fingertips. Blender is completely free, making it accessible to everyone from hobbyists to seasoned designers. There’s no budget barrier obstructing your creativity.
- Robust Community Support: With a bustling online community, resources, tutorials, and forums are just a click away. Need help? Chances are someone has already tackled that challenge.
- Advanced Tools: Features like sculpting, texturing, and the physics engine allow users to create complex models with ease.
Overall, using Blender for 3D printing opens a world of possibilities, no limitations, just imagination. It’s the perfect blend of creativity and technical skill.
Setting Up Blender for 3D Printing
Getting started with Blender can feel overwhelming, but setting it up for 3D printing is fairly straightforward. Here’s a step-by-step guide to make the process smoother:
- Download and Install: Head over to Blender’s official website, download the latest version, and install it. Easy peasy.
- Configure Units: Ensure your workspace uses the correct measurement units. Go to the ‘Scene’ tab and select either metric or imperial based on your preference.
- Enable Add-ons: Go to the Preferences menu and enable the add-ons related to 3D printing. The MeasureIt and 3D Print Toolbox add-ons are particularly helpful as they offer functionalities dedicated to optimizing your model for printing.
Once the setup is complete, you can start creating. Remember, initial hiccups are just part of the learning curve.
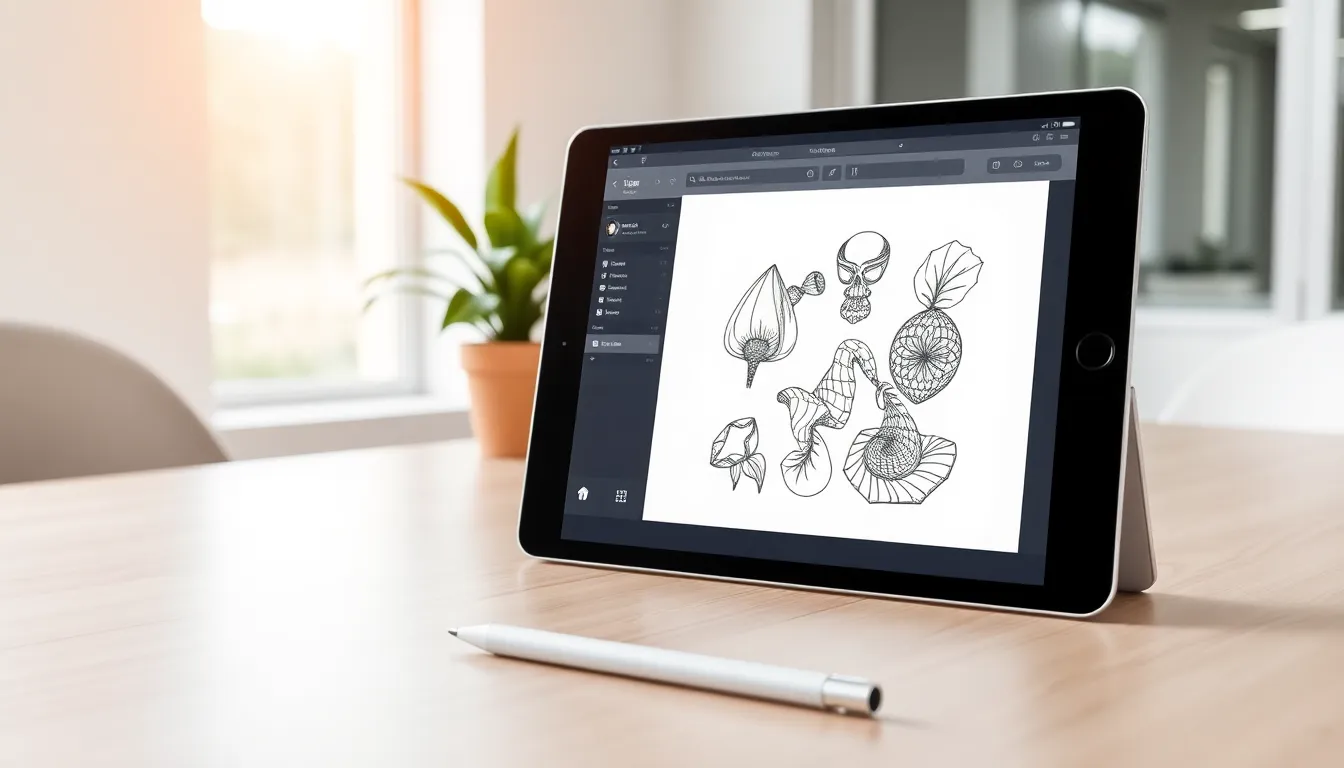
Modeling Techniques for 3D Printing in Blender
Creating a model in Blender might seem daunting, but breaking it down into manageable steps can help tremendously.
Preparing Your Model for 3D Printing
Before jumping into design, it’s crucial to keep 3D printing requirements in mind throughout the process. Consider the following:
- Manifold Geometry: Ensure your model is ‘watertight’ with no holes or non-manifold edges. This ensures a successful print.
- Scale Your Model: Think about the size you want your final object to be. Adjust your model accordingly in Blender to match the required dimensions.
- Avoid Overhangs: Too many overhangs can complicate printing. Keep them to a minimum, or add supports later on.
Exporting Your Model
After crafting the perfect 3D model, it’s time to export it. Selecting the right format is essential for compatibility with your printer:
- STL Format: The most widely used format for 3D printing. It strips away colors and textures, focusing strictly on the geometry.
- OBJ Format: If your model requires color and texture, the OBJ format retains these attributes but can be heavier on file size.
To export, select your object, go to File, and click on Export. Choose your desired format, and you’re ready to transfer your creation to the printer.
Common Issues and Troubleshooting
Even seasoned designers encounter hiccups during 3D printing. Knowing common pitfalls can be a lifesaver:
- Failed Prints: This might stem from improper bed leveling, incorrect temperature settings, or warping issues. Troubleshoot by recalibrating and adjusting settings.
- Poor Adhesion: If your print isn’t sticking to the print bed, try using adhesive sprays or a textured surface to enhance grip.
- Model Design Flaws: Revisit your model to check for non-manifold edges or thin walls. Blender’s 3D Print Toolbox can help identify these issues.
Most challenges can be resolved through some patience and experimentation. Remember, it’s all part of the learning journey.