Learning how to 3D printing works opens doors to custom creations, rapid prototyping, and hands-on engineering. This technology transforms digital designs into physical objects layer by layer. Anyone can start 3D printing at home with the right equipment and basic knowledge.
This guide covers everything beginners need to know. Readers will learn about printer types, software options, and the step-by-step process for creating a first successful print. The information here helps new users avoid common pitfalls and build confidence quickly.
Table of Contents
ToggleKey Takeaways
- 3D printing builds objects layer by layer, with FDM (Fused Deposition Modeling) being the most accessible technology for beginners at home.
- Entry-level FDM printers cost between $150–$400, and PLA filament is the easiest material to start with due to its low temperature requirements and minimal warping.
- Learning how to 3D print requires two types of software: design programs like TinkerCAD or Fusion 360, and slicers like Cura that convert models into printer instructions.
- Proper bed leveling is critical—an uneven print bed is one of the most common causes of failed prints for new users.
- Start with simple calibration models and default slicer settings before attempting complex designs with overhangs or thin walls.
- Regular printer maintenance, including nozzle cleaning and belt tightening, ensures consistent print quality over time.
Understanding the Basics of 3D Printing Technology
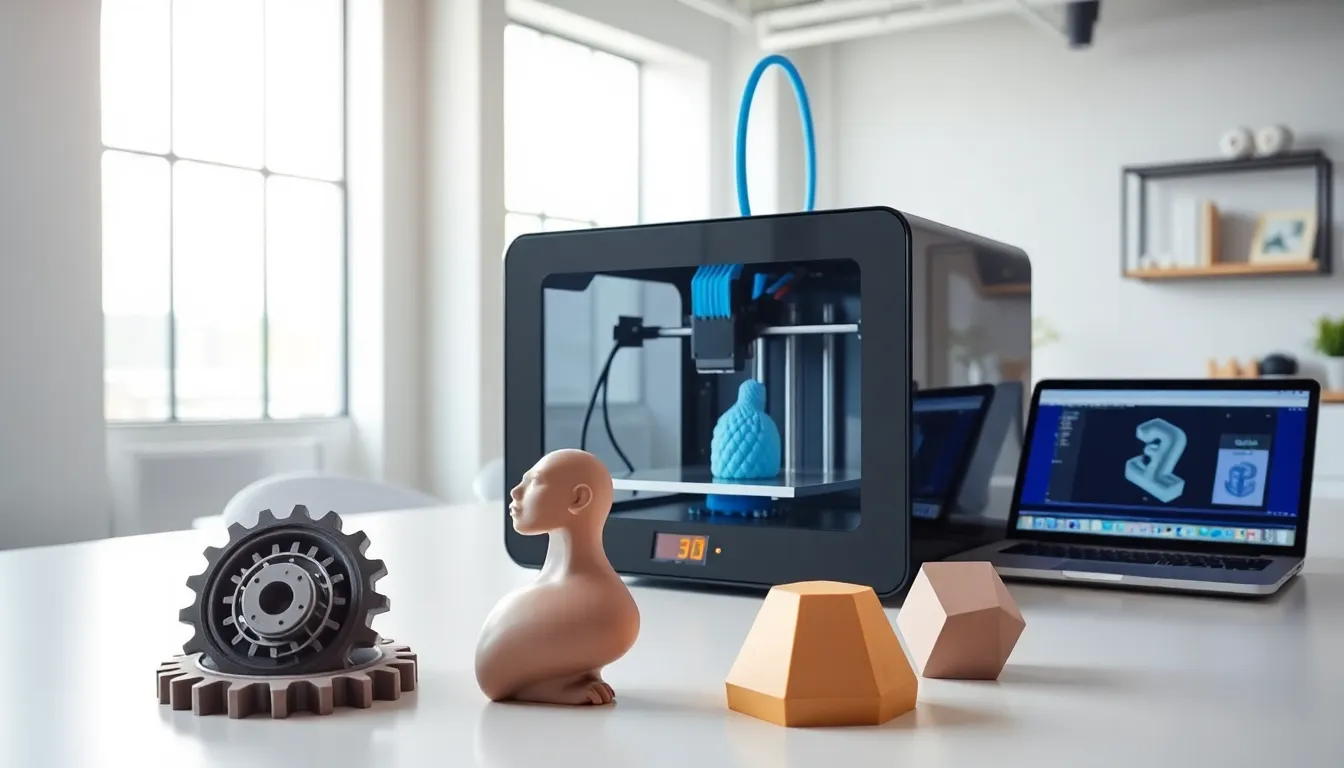
3D printing builds objects by adding material layer by layer. This process is also called additive manufacturing. A printer reads a digital file and deposits material according to the design specifications.
The most common home printing method is Fused Deposition Modeling (FDM). FDM printers heat plastic filament and push it through a nozzle. The nozzle moves along programmed paths, laying down thin layers that stack and fuse together.
Another popular technology is resin printing, or Stereolithography (SLA). These printers use UV light to cure liquid resin into solid forms. Resin printers produce finer details than FDM machines but require more post-processing work.
Key components of a typical 3D printer include:
- Print bed: The flat surface where objects form
- Extruder: The mechanism that feeds and melts filament
- Nozzle: The part that deposits melted material
- Stepper motors: Motors that control precise movement
- Control board: The brain that processes commands
Understanding how to 3D printing machines operate helps users troubleshoot problems and optimize results. Each component plays a specific role in creating accurate prints.
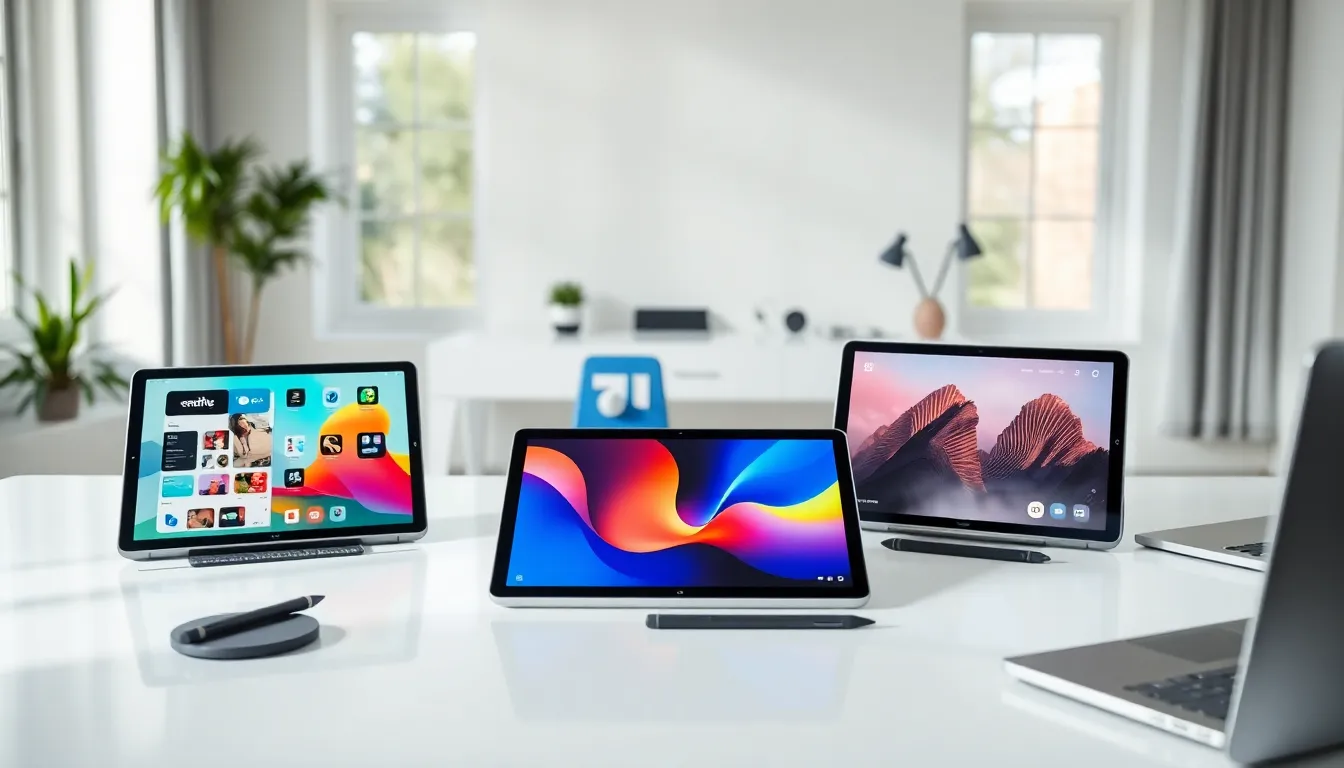
Choosing Your First 3D Printer
Selecting a first printer depends on budget, intended use, and technical comfort level. FDM printers suit most beginners because they cost less and use affordable materials.
Entry-level FDM printers range from $150 to $400. Popular beginner options include the Creality Ender 3 series and Anycubic Kobra. These machines offer good print quality and large online communities for support.
Buyers should consider these factors:
- Build volume: Larger beds allow bigger prints
- Print resolution: Measured in microns: lower numbers mean finer detail
- Assembly required: Some printers arrive pre-built, others need setup
- Bed leveling: Auto-leveling saves time and frustration
- Material compatibility: Most FDM printers use PLA and PETG filaments
PLA filament works best for beginners. It prints at lower temperatures, doesn’t warp easily, and produces minimal odor. A 1kg spool costs between $15 and $25 and provides many hours of printing.
Those interested in how to 3D printing miniatures or jewelry might consider resin printers instead. Entry-level resin machines start around $200 but require ventilation and safety equipment for handling liquid resin.
Essential Software and File Formats
3D printing requires two types of software: design programs and slicers. Design software creates 3D models. Slicers convert those models into printer instructions.
Design Software Options
Beginners can start with free design programs. TinkerCAD offers a browser-based interface perfect for simple projects. Fusion 360 provides professional features with a free hobbyist license. Blender handles organic shapes and artistic designs well.
Many users skip design work entirely. Websites like Thingiverse, Printables, and MyMiniFactory host thousands of free downloadable models. These repositories cover everything from phone stands to cosplay props.
Slicer Software
Slicers translate 3D models into G-code, the language printers understand. Popular free slicers include Cura, PrusaSlicer, and OrcaSlicer. Each offers preset profiles for common printers.
Slicer settings control print quality and speed. Key parameters include:
- Layer height: Thinner layers produce smoother surfaces
- Infill percentage: How solid the interior becomes
- Print speed: Faster speeds sacrifice some quality
- Support structures: Temporary scaffolding for overhangs
File Formats
STL remains the standard format for 3D printing files. Most design programs export to STL. The slicer imports the STL and generates a G-code file. The printer reads the G-code and executes the build.
Learning how to 3D printing software works takes practice. Start with default slicer settings before experimenting with custom configurations.
Your First Print: Step-by-Step Process
Follow these steps for a successful first 3D printing experience.
Step 1: Set up the printer
Assemble the machine according to manufacturer instructions. Level the print bed so the nozzle maintains consistent distance across the surface. Load filament into the extruder.
Step 2: Choose a test model
Download a simple calibration model or beginner-friendly design. A calibration cube or small figurine works well. Avoid complex models with many overhangs for the first attempt.
Step 3: Prepare the file
Import the STL into slicer software. Select the printer profile and material type. Use default settings initially. Slice the model and save the G-code to an SD card or send it directly to the printer.
Step 4: Start the print
Preheat the printer to the correct temperature. PLA typically prints at 200°C nozzle temperature and 60°C bed temperature. Begin the print job and watch the first few layers closely.
Step 5: Monitor progress
The first layer determines success. It should stick firmly and appear slightly squished. If the filament doesn’t adhere, stop and adjust bed leveling. Stay nearby for the first 15-20 minutes.
Step 6: Remove and finish
Let the bed cool before removing the print. Parts usually pop off easily once cool. Remove any support material and sand rough edges if desired.
Understanding how to 3D printing works becomes clearer after completing a few projects. Each print teaches something new.
Common Beginner Mistakes to Avoid
New users often encounter similar problems. Avoiding these mistakes saves time and filament.
Skipping bed leveling: An uneven bed causes failed prints. Level the bed before each session until muscle memory develops. Auto-leveling features help but don’t eliminate the need for occasional manual checks.
Printing too fast: Speed settings affect quality significantly. Slower prints produce better results. Start at 50mm/s or lower and increase gradually.
Ignoring ambient temperature: Drafts and cold rooms cause warping and layer separation. Keep printers away from windows and air vents. Some users build enclosures for temperature control.
Using wrong temperatures: Each filament type needs specific temperatures. PLA, PETG, and ABS all require different settings. Check the manufacturer’s recommendations on the spool.
Neglecting maintenance: Printers need regular care. Clean the nozzle periodically. Lubricate moving parts. Tighten loose belts. A maintained machine produces consistent results.
Starting with difficult models: Overhangs, bridges, and thin walls challenge even experienced users. Build skills with simple geometric shapes first. Increase difficulty gradually.
Not using proper bed adhesion: Glass and PEI beds sometimes need help gripping prints. Glue sticks, hairspray, or painter’s tape improve adhesion for tricky materials.
Mastering how to 3D printing succeeds requires patience. Failures teach valuable lessons. Document what works and what doesn’t.