3D printing for beginners can seem overwhelming at first. The technology has evolved rapidly, and entry-level printers now cost less than a quality smartphone. This guide covers the essential concepts, equipment, and steps to help anyone create their first successful print. Whether someone wants to make custom phone cases, replacement parts, or artistic models, 3D printing opens up practical possibilities that were unimaginable just a decade ago.
Table of Contents
ToggleKey Takeaways
- 3D printing for beginners is now more accessible than ever, with quality entry-level printers costing between $200 and $500.
- FDM printers using PLA filament offer the best starting point due to lower costs, easier maintenance, and forgiving print characteristics.
- Proper bed leveling is critical for success—an unlevel bed causes 90% of first-layer failures in 3D printing.
- Start with simple models like calibration cubes or phone stands before attempting complex designs with overhangs or fine details.
- Essential beginner settings include 0.2mm layer height, 20% infill, and 50mm/s print speed for reliable results.
- Store filament in sealed bags with desiccant to prevent moisture absorption, which causes weak and stringy prints.
What Is 3D Printing and How Does It Work
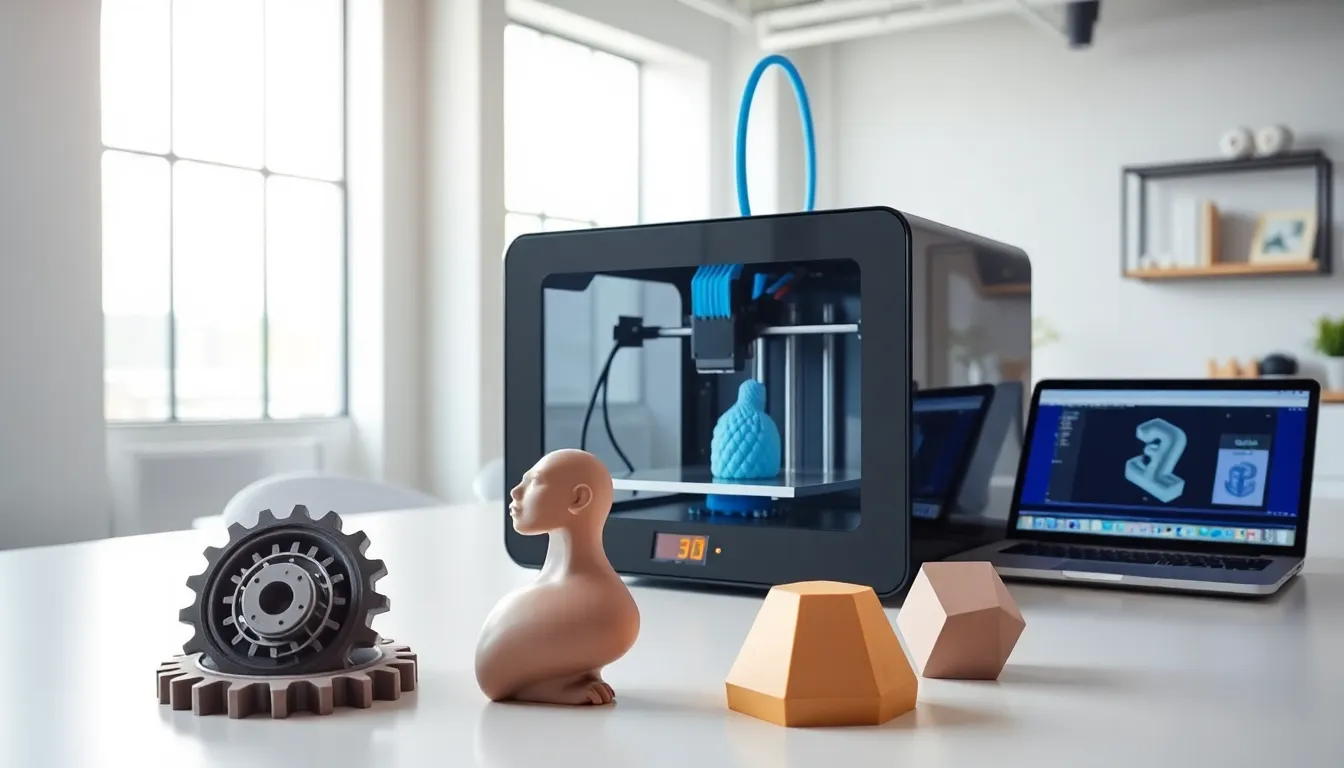
3D printing creates physical objects from digital files. The process builds items layer by layer, adding material rather than cutting it away. This additive manufacturing method allows for shapes that traditional methods cannot produce.
Most home 3D printers use a process called Fused Deposition Modeling (FDM). Here’s how FDM works:
- A digital 3D model is created or downloaded
- Slicing software converts the model into thin horizontal layers
- The printer heats plastic filament until it melts
- A moving nozzle deposits the melted material in precise patterns
- Each layer cools and bonds to the previous one
- The object takes shape from the bottom up
The entire process can take anywhere from 30 minutes for simple items to over 24 hours for larger, detailed prints. Understanding this layered approach helps beginners troubleshoot issues and set realistic expectations for their projects.
3D printing has become accessible because the core technology is now affordable. Entry-level printers deliver quality results that would have required industrial equipment just ten years ago.
Types of 3D Printers for Home Use
Beginners typically choose between two main types of 3D printing technology for home use: FDM and resin printers.
FDM Printers
FDM printers are the most popular choice for beginners. They use plastic filament spools and offer:
- Lower material costs
- Easier maintenance
- Larger build volumes
- Less post-processing work
- Safer operation without toxic chemicals
Popular beginner FDM models include the Creality Ender 3 series and Prusa Mini. These printers cost between $200 and $500 and produce reliable results.
Resin Printers
Resin printers use liquid photopolymer that hardens under UV light. They excel at:
- Fine detail work
- Smooth surface finishes
- Miniatures and jewelry
- Dental and medical models
But, resin 3D printing requires more safety precautions. The liquid resin is toxic before curing, and proper ventilation is essential. Prints also need washing and additional UV curing after completion.
For most beginners, an FDM printer offers the best balance of ease, cost, and versatility. Those specifically interested in miniatures or high-detail work might prefer starting with resin even though the steeper learning curve.
Essential Equipment and Materials
Starting with 3D printing requires more than just the printer itself. Here’s what beginners need to gather:
Core Equipment
- 3D Printer: An FDM model between $200-$400 works well for learning
- Computer: Any modern laptop or desktop can run slicing software
- Slicing Software: Free options like Cura or PrusaSlicer convert models into printable files
- Filament: PLA plastic is the easiest material for beginners
Helpful Tools
- Flush cutters for removing supports
- Spatula or scraper for bed removal
- Isopropyl alcohol for cleaning the print bed
- Digital calipers for measuring prints
- Small files or sandpaper for finishing
Filament Types for Beginners
PLA (Polylactic Acid) is the standard starting material for 3D printing. It prints at lower temperatures, doesn’t warp easily, and produces minimal odor. A 1kg spool costs about $20-25 and provides enough material for dozens of small prints.
PETG offers more durability than PLA but requires slightly higher temperatures. ABS provides heat resistance but needs an enclosed printer and good ventilation.
Beginners should stick with PLA until they master the basics. The material forgives many common mistakes that would ruin prints with more demanding filaments.
Your First 3D Print: A Step-by-Step Guide
Completing a first 3D print feels incredibly satisfying. Follow these steps to increase the chances of success:
Step 1: Set Up the Printer
Assemble the printer according to the manufacturer’s instructions. Level the print bed, this step is critical. An uneven bed causes prints to fail within the first few layers. Most printers include a leveling guide or automatic leveling feature.
Step 2: Choose a Simple Model
Download a beginner-friendly model from Thingiverse or Printables. Good first prints include:
- A calibration cube (tests accuracy)
- A small figurine
- A phone stand
- A simple container
Avoid complex models with overhangs or fine details for the first attempt.
Step 3: Slice the Model
Open the model in slicing software. For beginners, use default settings with these adjustments:
- Layer height: 0.2mm (good balance of speed and quality)
- Infill: 20% (saves material while maintaining strength)
- Print speed: 50mm/s (slower is more reliable)
Step 4: Start Printing
Load filament into the printer and preheat it. Transfer the sliced file via SD card or USB. Watch the first few layers closely, most failures happen early.
Step 5: Remove and Inspect
Once complete, let the print cool. It should release from the bed easily. Check for layer adhesion, accuracy, and surface quality. This first print teaches more than any tutorial.
Common Mistakes to Avoid
New 3D printing enthusiasts often make the same errors. Avoiding these problems saves time, money, and frustration:
Skipping bed leveling: An unlevel bed causes 90% of first-layer failures. Check leveling before every print session until it becomes routine.
Printing too fast: Speed looks tempting, but slower prints succeed more often. Build speed gradually as skills improve.
Ignoring ambient temperature: Drafts and cold rooms cause warping and layer separation. Keep printers away from windows and air vents.
Using old or wet filament: PLA absorbs moisture from the air. Store filament in sealed bags with desiccant packets. Wet filament produces weak, stringy prints.
Attempting complex models too soon: Overhangs, bridges, and fine details challenge even experienced users. Master simple prints before tackling ambitious projects.
Neglecting maintenance: Clean the nozzle regularly. Tighten loose belts. Lubricate moving parts. A well-maintained printer produces consistent results.
Not watching the first layer: The first layer determines success. Stay nearby until the base forms properly.